 Monirul Islam
I'm always excited to take on new projects and collaborate with innovative minds.
+8801718715606
contact@monirulislam.info
https://monirulislam.info
194/2 West Shawrapara, Mirpur, Dhaka1216
 Monirul Islam
I'm always excited to take on new projects and collaborate with innovative minds.
+8801718715606
contact@monirulislam.info
https://monirulislam.info
194/2 West Shawrapara, Mirpur, Dhaka1216
Step 1: Draw the Base Shape
Open Adobe Illustrator and create a new document.
Select the Rectangle Tool (M).
Click and drag on the artboard to draw your rectangle

Open Adobe Illustrator and create a new document.
Select the Rectangle Tool (M).
Click and drag on the artboard to draw your rectangle.
With the rectangle selected, go to the Gradient panel (Window > Gradient).
Apply a white-to-transparent linear gradient:
Use white (or light gray) on one end.
Use 100% opacity for white, and 0% opacity on the other end.
Adjust the angle and gradient position to match the light source.
Open the Transparency panel (Window > Transparency).
Reduce the opacity to 20–30%, depending on how "frosted" you want the effect.
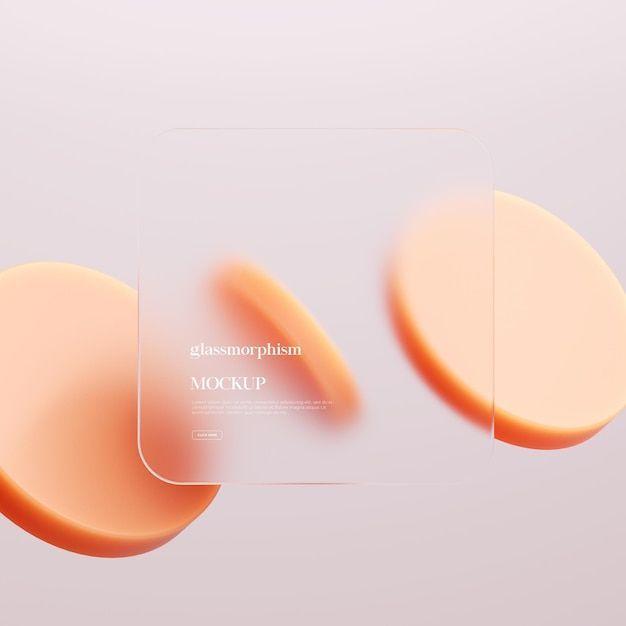
If you want to simulate content behind the glass:
Create some shapes/text behind the glass rectangle.
Select them.
Go to Effect > Blur > Gaussian Blur.
Apply a blur (e.g., 5–15 px) to simulate background blur.
This creates the illusion that the glass is blurring what's behind it.
Copy the original rectangle (Ctrl+C) and paste in place (Ctrl+F).
Change the fill to white and reduce the opacity to around 5–10%.
Use Effect > Blur > Gaussian Blur to slightly blur it.
Resize it slightly smaller or move it upward for a subtle shine effect.
Add a white or light gray stroke.
Reduce the stroke's opacity to 10–20%.
Set it to Inside (via Appearance panel > Stroke > Align Stroke to Inside) for a smooth border.
Select all glass elements and group them (Ctrl+G).
Done! Now you have a frosted glass-style effect.
Your email address will not be published. Required fields are marked *